HOME

Wednesday, March 20, 2013

Pantry Makeover: Part 2 The Reveal

Thanks for coming back today, ok i'm super excited to finally reveal my pantry makeover. Which, if i may add, needed a real makeover bad! First of all, i went on a little shopping trip to two different places, my favorite organization on a budget friend IKEA, and of course the Dollar Store. Got me some cool organizers.

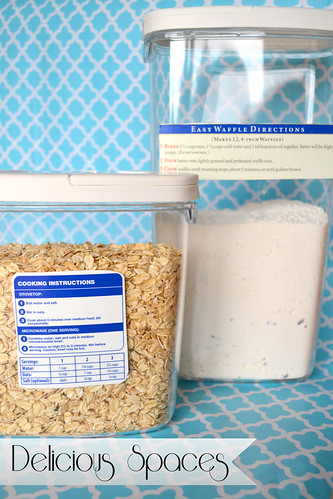
First, i decided i wanted to get rid of a bunch of boxes that were taking up too much space, and that frankly weren't cute. So what i did with instructions, i cut them out and simply taped them outside the containers.
029
 
 
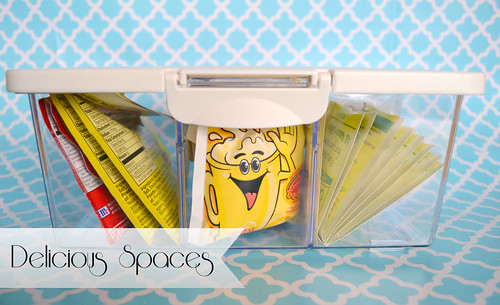
i also love my bestie, divider, perfect for dividing gravy mixes, taco mixes, teas, anything little like this. i have been using this forever, and i love it!
040

 
From the Dollar Store, i found these awesome space savers/dividers!

 
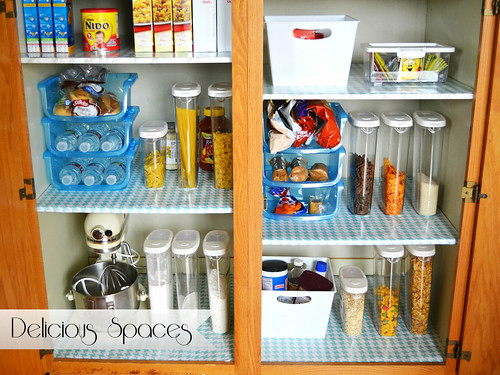
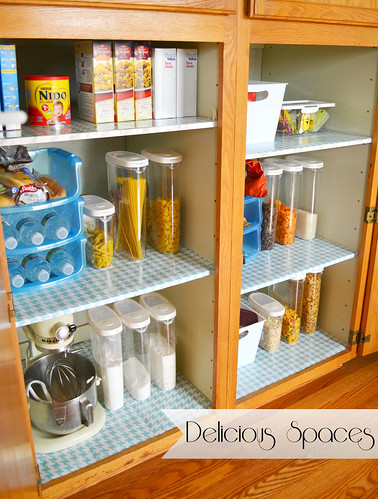
And without further ado, here she is!
 
049
 
003


006
 
008

i am completely happy and in love with all the space i have. i need to go do some grocery shopping to be able to use up all of my awesome space, because as you can see, i have lots of space to spare.
 
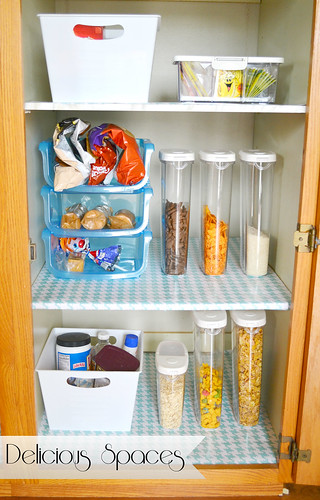
Snack Time

photo 2
 
 
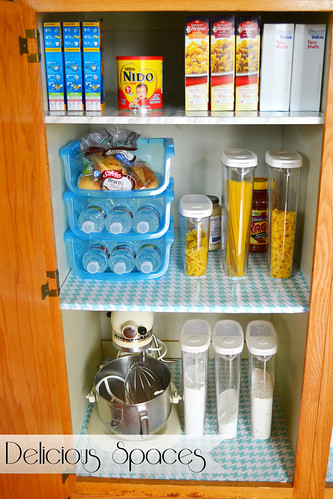
Baking Time, now i can see our Grandma's vintage Kitchen Aid


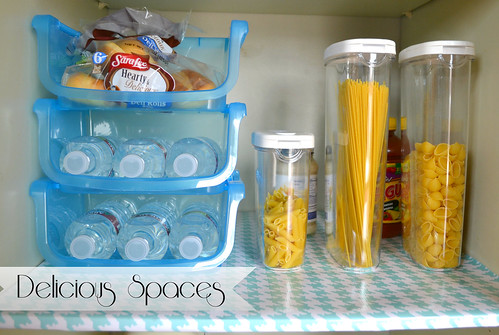
Pastas, Breads, and some water bottles
 
014


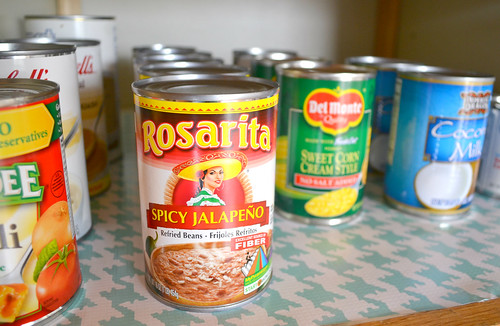
And my canned foods, i love being able to see exactly what i have, this way i know what i need and don't need to buy when grocery shopping.
043
 
 
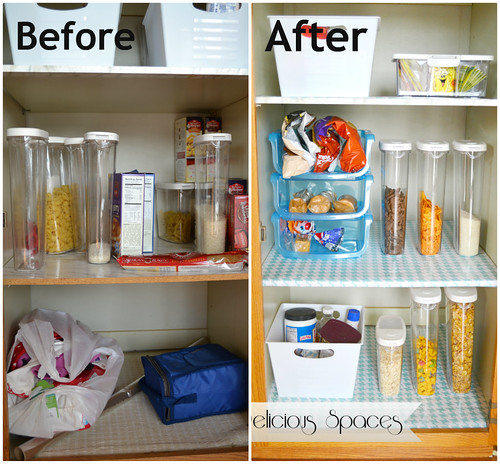
Lets take a look at the Before
 

After
049


 Before & Afters
Collage

Collage2  
 
Before
 

After
043
 
003


sigh... i am feeling relief today, i finally finished this big project, and with your motivation, it became even better and faster than expected. Thank you for joining me today. See you soon!

xoxo


Monday, March 18, 2013

Pantry Makeover: Part 1

Well, it's been a while since i have said hello and updated. It has been a heck of a busy last week, hopefully this week is more relaxed, with a sick toddler and food poisoning on the hubs, i don't know how relaxing it will be. Lets hope for the best shall we?
For a while now, i have been dreaming and hoping about my pantry. Let me give you an idea on what my dream pantry consists of.


sigh!
 

Ok, enough day dreaming and lets get to work. My latest update consists of one of the most embarassing parts of my life. i haven't been wanting to share this because it's super sad, and embarrasing at the same time. Ever since we moved upstairs back in November, and i started work, i sort of let my house go, but nothing more than my Pantry. i have been waiting, and regreting at the same time, of this day. Call it a bitter sweet moment for us the Hanson's. Ok, look at how embarrasing this situation is, i apologize.


Ugh


How embarrasing


Sad, isn't it? Well, i decided i had enough, and it was time i get down on my knees, scrub harder, and make it look pretty. i have sort of been avoiding it, because i knew it would be time consuming, and i wanted it to be perfect.

So i cleaned out my pantry
and i'm not a huge fan of the faux marble adhesive paper


Than i realized nothing in life is or will ever be perfect. So i decided to use what i already had, because it was in fact, super cute anyway, so i used some super cute wrapping paper that i had bought from TJMaxx a while back, it's not self-adhesive, but that didn't matter. i have plenty of paper to spare, and i love this pattern. Don't worry if you don't have the budget to go all out, just use what you have, and get creative.


Yes, much better!!


                   Before                                                                                                    After


Yay, i'm super excited about the transformation. Stay tuned, i'm not finished yet! Part 2 and the reveal is coming up on Wednesday. i can't wait to show you.
 
xoxo


Monday, March 11, 2013

BookShelf Details

Just a quick post here, hope you are all having a wonderful Monday, as i am. I love spring, it's bright, it's cheerful, and colorful. i love the rain, the sun mix, and i am loving the fact that there is no more snow, just cold air, but running in the morning is amazing!!

i want to quickly show off a little bit of the progress i have made on my book shelves. i know i posted the cool background makeover a few weeks back, but i haven't had time to work on my brand new shelves, sad day, but i am still working on them, and here a some quick little details.


i love the little details on a gorgeous and unique frame


Super excited for the big reveal, i'll let you know. Thanks so much for coming over today friends, you rock!!


xoxo

Wednesday, March 6, 2013

Window Treatment Update, finally!

Hi and good day! Ok, today i'm super excited, i am especially giddy about this post, because not only did i work hard on this, well not too hard actually, but i just love the transformation. i have been obsessed with roman shades for quite sometime, especially bamboo shades. They're coastal, relaxed, super casual, and they add special interest, texture, and character to a window treatment. i have been wanting to get these shades for quite sometime, frankly they were a bit on the high end for me, i know they're not too expensive, but for my budget they were. i have been wanting these shades, forever!!!


i just had to deal with some ugly regular blinds, well, they came with the rental, and i was grateful to have had blinds, but Nolan kept breaking them, and that cord was a hazard. So i always kept them up, just to give me the satisfaction of the blinds being up, just like roman shades go. This is what my poor windows looked like, because the blinds were so not cool, the awesome curtains i picked up a couple months ago, the blinds would not give my gorgeous curtains justice.


Poor Sad Windows


so i went to my momma's house yesterday, because she told me she picked some bamboo shades at the DI (good will) i went to go measure them to see if they would fit, sure enough, they were just perfect!!!


Amazing!!! It was a dream come true!


Now, because the shades didn't come with instructions, luckily the hardware came with it, i didn't know how, or even had a clue on how to install these babies. i am so grateful for youtube and awesome smart window folk, i followed these super easy, and quick instructions on how to install these shades. Depending on what you want, outside or inside installation instructions, here is a quick link for both.

Click on Inside Mount to learn how i installed mine.

Click on Outside Mount to learn how to install.
 
It was sooooo easy! Look how wonderful they turned out!!
 
 
I adore them!!!


The sweetest part of this project, was that it was absolutely and completely FREE!!!
Thanks to my momma!
 
 
Thanks for stopping by friends!
 
xoxo