Ahoy Mates!
Over the weekend, we had a most anticipated party of the year. Nolan's Pirate Birthday Party. I have been planning this for over a year. I think it was a huge success, it was so fun! And most importantly, Nolan had a blast! He is such a spoiled little buccaneer. Today, I am going to share some of my party planning tips and secrets, to a grand party celebration splurge, on a very small budget.
First of all, I like to plan the theme a year in advance, since my toddler loves a lot of things, it's easy for us to pick out a theme, and keep him interested in that theme. This makes it easier to shop for the specific theme.
I plan all my birthday parties a year in advance. How do I manage to pull everything off on a tight and strict budget? Easy, I start purchasing throughout the year, anything on clearance, dollar rack, store, etc. it's all I ever purchase. It would appear as though I have money to spare and splurge, honestly I don't.
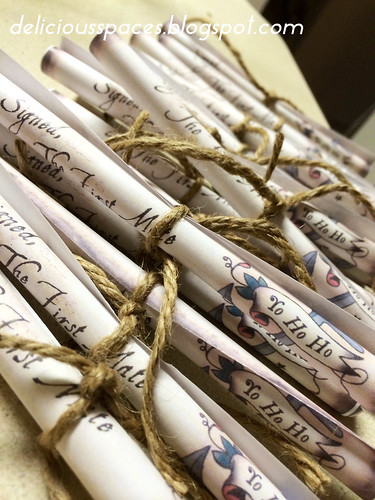
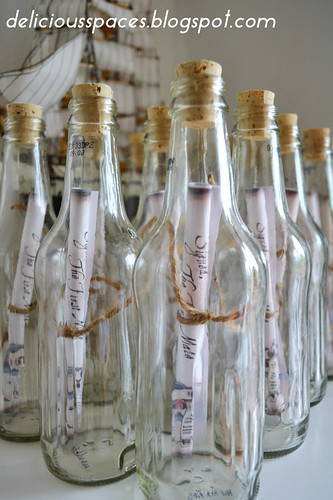
For example, invitations such as these would cost me about 3 dollars each to purchase at the craft store, in mini. I made them for about 0.75 cents a piece. Soda bottles, free, I saved them from soda we got months and months ago! I just bought the corks, with a coupon from the craft store they ended up being about 0.25 cents each. I printed invites at the paper store, 0.50 cents each, more than I wanted to spend, but had to splurge for the color. Not to mention my hubs company discount also helped (unless your printer is up and running, unlike mine)
I absolutely love the way they turned out!
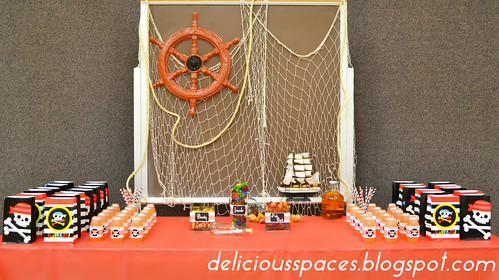
All décor you see here, purchased months in advance, the most expensive thing here is the cool Ship steering wheel, about $4 at the party store.
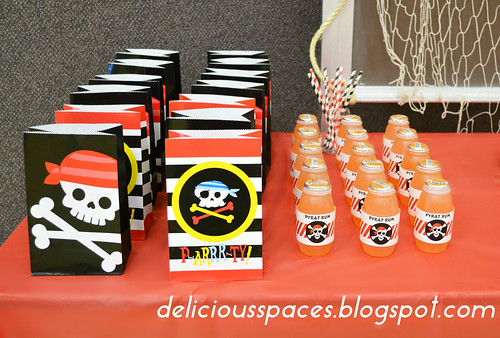
Cute favor bags, bought months in advance.
(Originally wanted to do wooden treasure chests for each of the kids, but the list kept growing and growing, at $1 each, not too bad, perhaps I would have done it, if I didn't have 25+ kids coming.)
Pyrat Rum labels, FREE! Click
here for the website. I modified the labels just a little bit. Straws on sale at Craft store, last year!
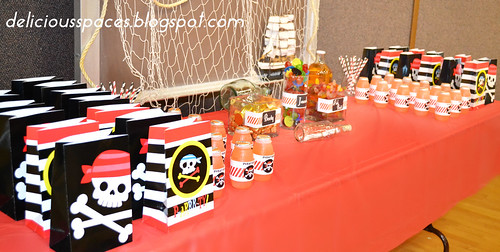
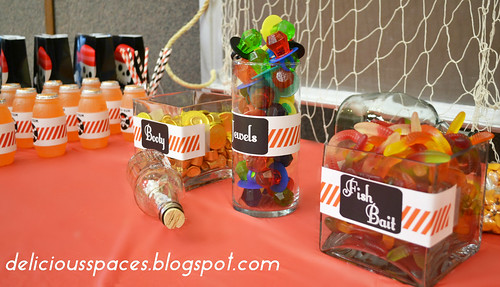
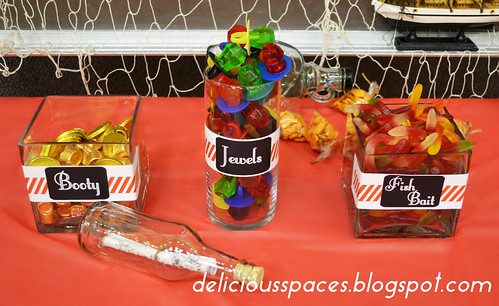
This year I decided to have a mini candy buffet.
Again, these are the same labels used for the rum, tweaked by me.
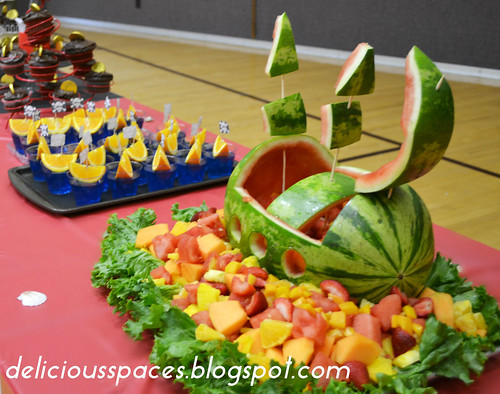
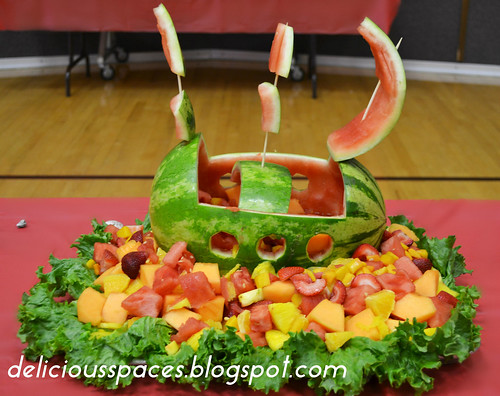
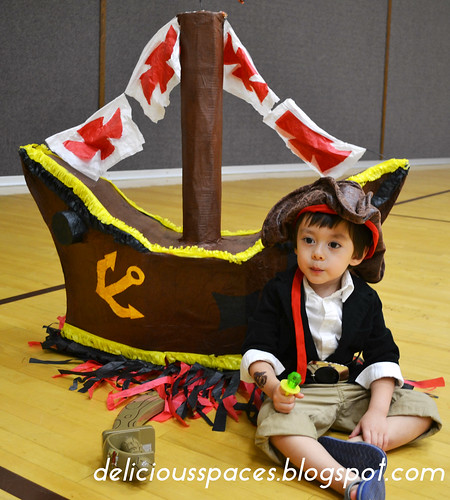
My mother went all out, and made us a Pirate Ship.
Didn't she do a great job?
AMAZING!
Love the toothpick swords, fits the theme so well! As usual, she doesn't ever forget the details.
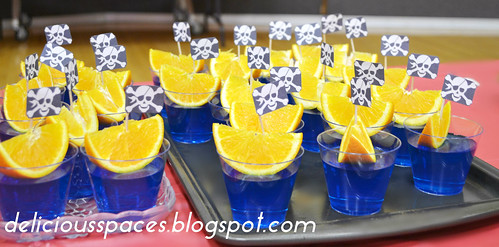
I just had to have these jello treats.
The kids loved them, the jello was so yummy!
Printed these little skull figures from the same website above, and tweaked them.
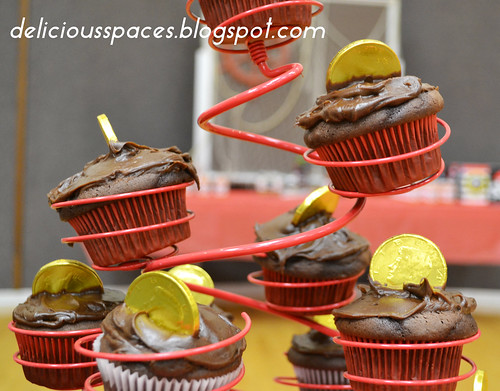
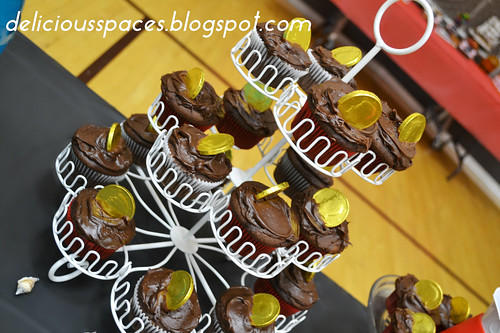
Ok, super cool cupcakes!
Doesn't it look like booty buried in mud?
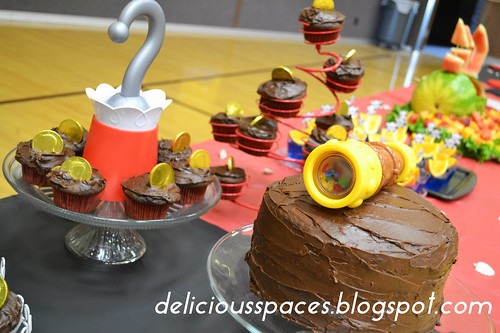
Desserts, compliments of Debbie.
(Cool Desert décor, compliments of Nolan)
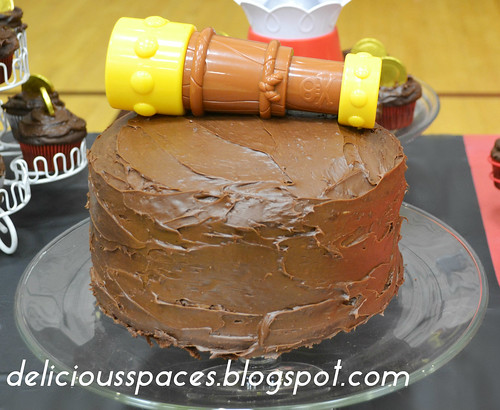
Ding Dong Cake, my mother-in-law's specialty. Again, super simple, but just right!
Love the way these cupcakes turned out!
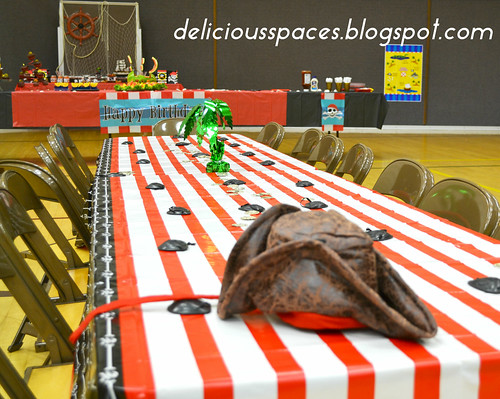
A table for the children, eye patches and all!
Got these super adorable table clothes on sale, at Target, from last years collection. Dirt Cheap, no joke!
And of course, a ship-wreck Piñata!
This was seriously the biggest Piñata I have ever seen.
(Mexican Store)
FYI: if when looking for a piñata for your party, as you may know, the price tag is on the high end when you go to your local department stores, so don't be afraid to check your local Mexican store, the piñatas there are more traditional, and bigger, and half the price you would pay at the department store.
This year we decided to fill up with Toys, got a bunch of Pirate theme toys at the dollar store, yo ho ho! The kids were so surprised.
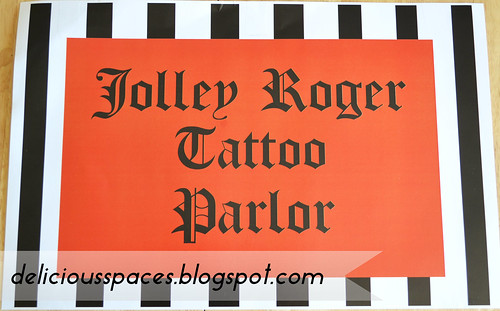
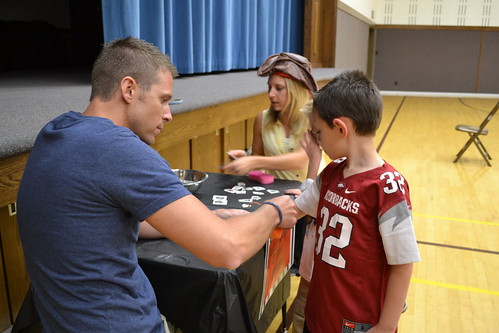
We even had a Tattoo Parlor for the kids
(A lot of these signs, I created myself, than printed for a pretty penny, and discount).
Compliments of the cool Jolley Roger Tattoo Artists,
A special thanks to Heidi and Ryan
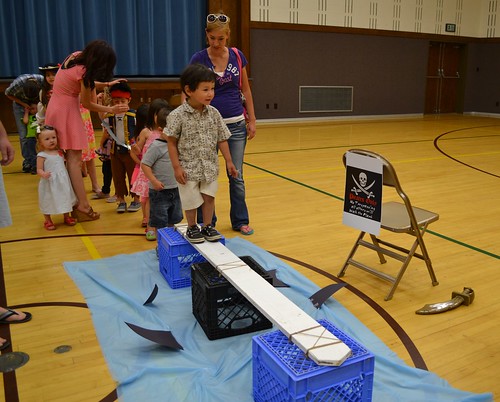
Pirates only! All others had to walk the plank...above Shark infested Waters...
(Seriously all dollar store for the plank supplies, except the plank, old neighbors picket fence spare)
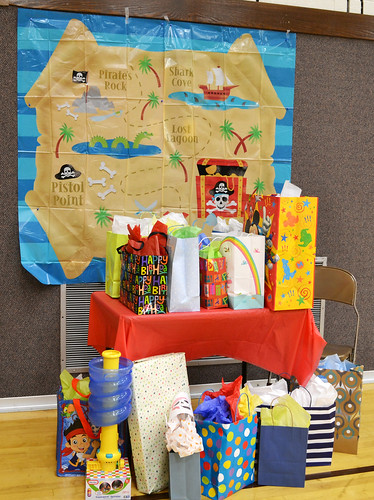
Thank you for all the cool gifts!
If you want to throw a big birthday party, but don't want to spend the money, just remember, plan a year in advance, throughout the year, shop, shop shop! Get everything on sale, clearance, dollar, last years collections, don't buy all at once, so you don't feel it too rough on your pocketbook. Also, set a budget, and stick to it! Our budget for everything, food included, was less than $200.00. Stick to the plan, and be ready to DIY. A lot of this stuff took a lot of mind planning, but also a lot of labor of love. If you enjoy doing it all, or have a strict budget, prepare to do it yourself a lot, and don't forget to have lots of patience.
Well, that's all for today, I hope you all took a little something from my little secrets to creating a successful theme birthday party on a budget.
Thank you for stopping by
xoxo