
Thanks for coming back today, ok i'm super excited to finally reveal my pantry makeover. Which, if i may add, needed a real makeover bad! First of all, i went on a little shopping trip to two different places, my favorite organization on a budget friend IKEA, and of course the Dollar Store. Got me some cool organizers.
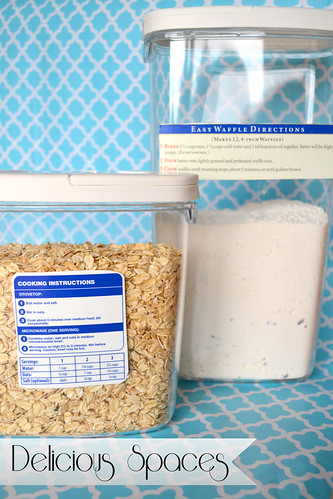
First, i decided i wanted to get rid of a bunch of boxes that were taking up too much space, and that frankly weren't cute. So what i did with instructions, i cut them out and simply taped them outside the containers.
i also love my bestie, divider, perfect for dividing gravy mixes, taco mixes, teas, anything little like this. i have been using this forever, and i love it!
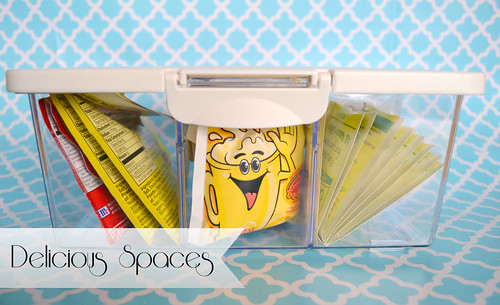
From the Dollar Store, i found these awesome space savers/dividers!

And without further ado, here she is!

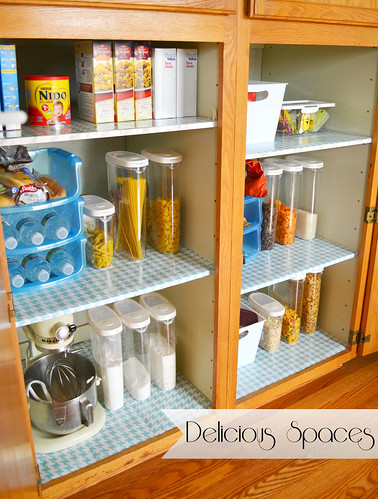
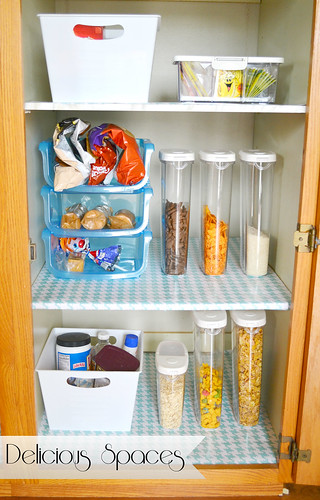
i am completely happy and in love with all the space i have. i need to go do some grocery shopping to be able to use up all of my awesome space, because as you can see, i have lots of space to spare.
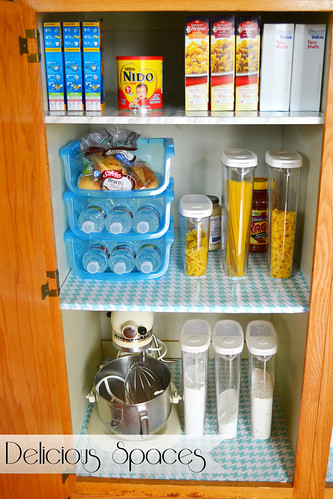
Snack Time

Baking Time, now i can see our Grandma's vintage Kitchen Aid
.jpg)
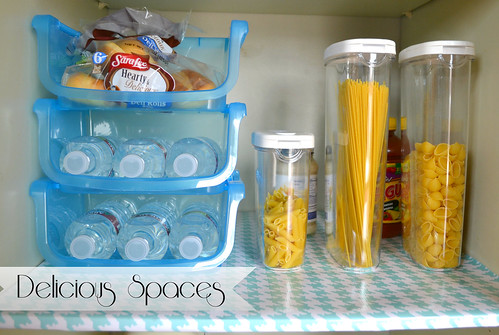
Pastas, Breads, and some water bottles
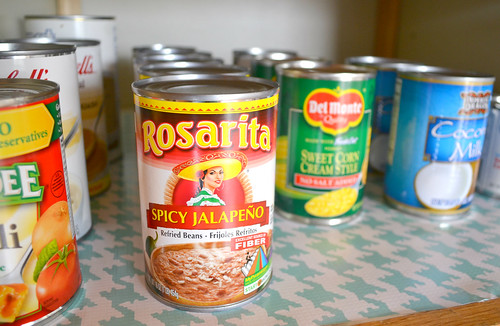
And my canned foods, i love being able to see exactly what i have, this way i know what i need and don't need to buy when grocery shopping.
Lets take a look at the Before

After
Before & Afters

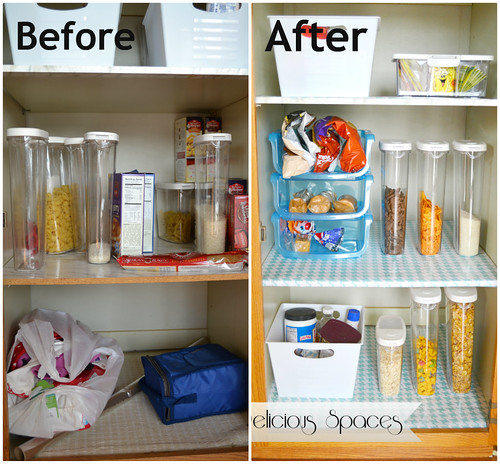
Before

After
sigh... i am feeling relief today, i finally finished this big project, and with your motivation, it became even better and faster than expected. Thank you for joining me today. See you soon!
xoxo


